How To Make a Candy Cake
Spring is one of the seasons when there are plenty of celebrations: birthdays, weddings, baptisms, communions … In this case our celebration is the birthday of my eldest son, who turns 6 years old. Since he is already “grown up”, he has an opinion on all the things that concern him. So this year he has decided that he wants a cake of sweets to take to school and share with his class friends. The original idea was from my mother-in-law, but once she told him, there was no way to get the idea out of his head. Usually we take a cake and a little gift bag with trinkets and candy for classmates, but a candy cake is another option. And what child does not like sweets? It is clear that this cake will be a total success among the little ones.
What child does not like sweets? It is clear that this cake will be a total success among the little ones.
Now, since the cake was going to be made with candy, I decided to substitute the bag of goodies for another inedible gift, so they would not have a sugar rush… Finally we decided on a pencil, a balloon and a mini personalized adventure book for each child.
Well, I went to several candy shops to see what I could find, but the only ones they had were small candy cakes, for about 8 children (there are 20 children in class). I noticed how they were made, and it looked like such a simple thing to do, that I thought (as always) … “I can make this!!!” So I got to work and I spent some time thinking about how to carry out the project. The truth is that the process is very simple, but I have to admit that it took me a few hours to make the cake. So do not leave it for the last moment! It took me a whole afternoon to make, and I got help from the children, who spent one whole hour putting the candy on the sticks (and some in their mouths, too)…
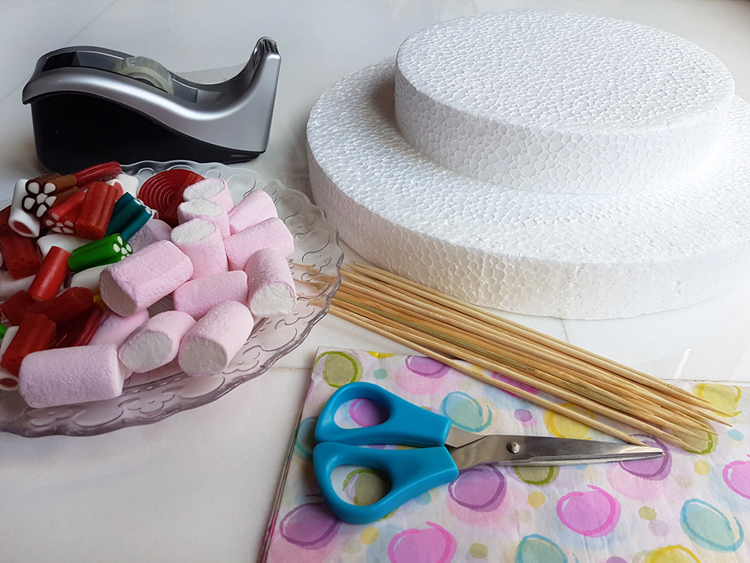
Materials:
-
- Several bags of varied soft candy (it will look better if there is consistency in the design, so roughly calculate the number you will need of each kind)
-
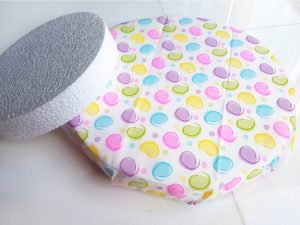
- Plastic foam circles to use as a base (also known as white cork, porexpan, expanded polystyrene…) – I used 2 in different sizes, to make it look like a double-layer cake.
-
- Tissue paper (in my case I used it decorated, but it can be plain colored)
-
- Wooden skewers
-
- Scissors
- Scotch tape
Preparation:
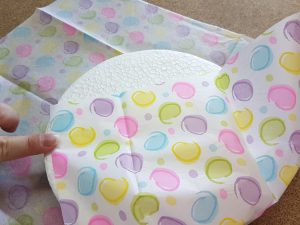
The first thing is to prepare the bases. To do this, we wrap them individually with tissue paper, leaving the top part as smooth as possible. Then stick the ends of the tissue paper to the bottom of the base with the tape, so that it looks clean and pretty on the top.
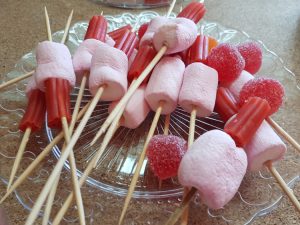
The next step would be to calculate the height that we will need for the skewers. To do this we place the bases one on top of the other, and put the skewer right next to it, calculating what space the candy will occupy above the bases (I put 2 or 3 on each stick, to vary the heights). Then we cut the sticks to this size with a good pair of scissors, since they are usually quite hard.
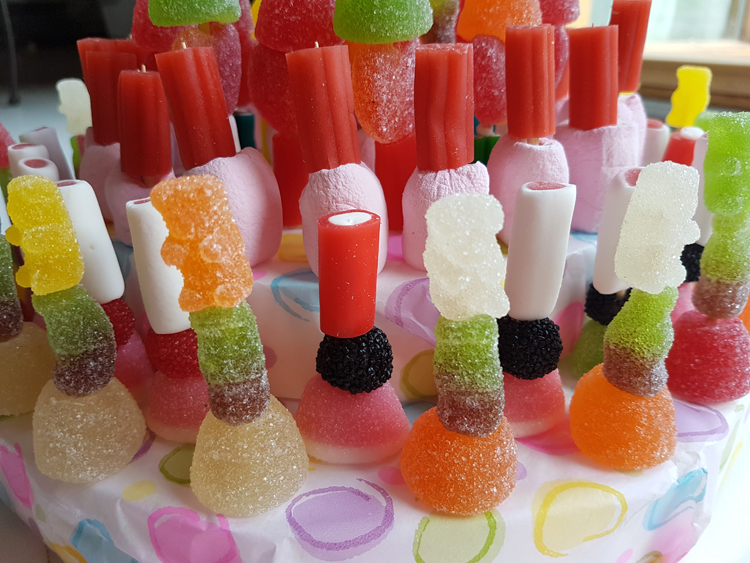
We then punch the candy on the skewers, and we stick these skewers into the bases. It is always advisable to put the center skewer in first (I like to put a small toothpick and then change it for a skewer that is higher than the others). This step will fix the bases together, and they will not move when we are manipulating them. And so, with much patience, we carry on filling in the circle until finished. I personally like the visual effect of the two heights, both on the bases and the skewers, but you can do it another way if you want. 😉
Note: put the cut side of the skewer inside the plastic foam base, as they may have splinters. Or you can use skewers that have the exact size you need, if you are lucky enough to find those. We do not want the kids hurting themselves as they eat the candy!
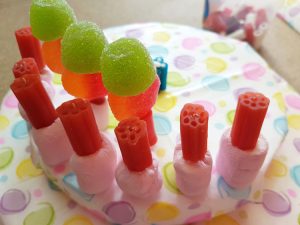
Once all the space is filled, we can substitute the central skewer for a higher one, this way the center is well marked and it looks more striking. And finally, I wrapped it with cellophane so it would be protected from dust and from curious little hands touching the colorful composition… 😀

As you can see is quite easy to make, and looks amazing. And the kids will love it! In addition it can be used for many celebrations: weddings, baptisms, communions … You can even give it away as a gift! So if you decide to make one, please do not forget to send me a photo, or tag me on any of our social media (@myberryown), I look forward to seeing your creations!