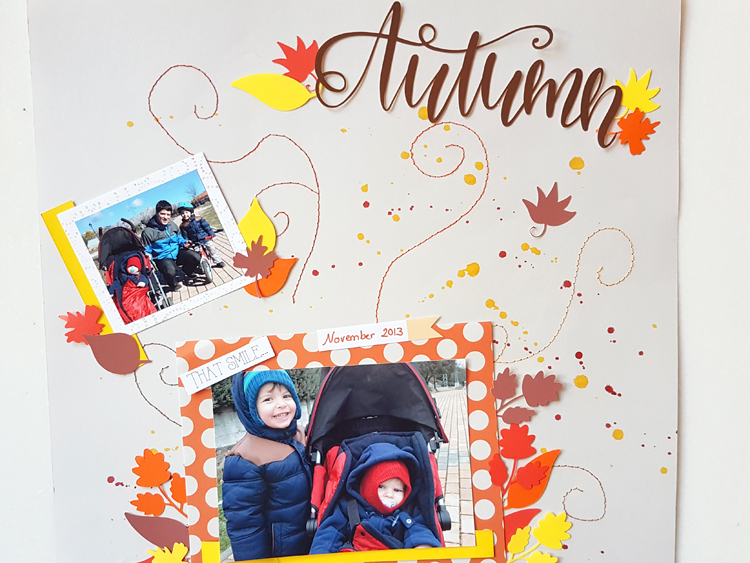
Paper Stitching for Scrapbooking – How to Do it Step by Step
If you like scrapbooking like me, you might always be looking for new techniques to give more detail and depth to your designs. This technique that I explain today is quite simple and can have many different applications. You can make whatever drawing you want and add large or small elements to your layouts (scrapbooking pages). You can use fine thread for small details and also thicker thread if you want to make big and flashy elements.
What you need
- Thread and needle
- Cardstock
- Thimble (optional for finger protection)
Process
First we softly draw the design that we want to embroider with a pencil . We take the needle and the thimble and we puncture the cardboard to make holes on all the drawn lines. The holes can be made at the distance that you see fit, according to your design. I usually make them about 3-4 mm away, because that way the thread stays tight, but you can make it bigger if, for example, you use a thicker thread.
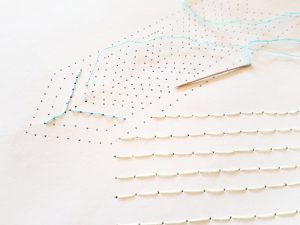
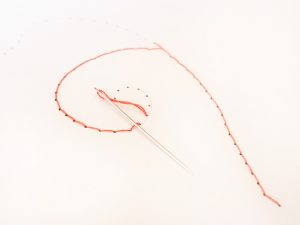
Once all the holes are perforated, we thread the needle and we make a knot at the end of the thread. Now comes the trickiest part, which is to know in which order to pass the needle through the holes. We will start from the bottom of the cardstock, passing the needle through the second hole of a line. When pulling the needle from the top, pull the thread until it is completely passed, and then insert the needle through the first hole downwards.
The process will always be the same, first the hole that is one further and then the previous one. This way we should prevent the thread from making a knot, and we will manage to get a clean embroidery on the visible part of the cardstock.

Note that the back of the paper will always have a double stitch and the knots will be visible (as shown in the following image).
And so on until you finish. If you have several drawings on paper, I recommend doing them one by one, using the amount of thread sufficient for each element independently. If the thread is too long, it will be harder to manage and there will be more possibility of getting it tangled and knotted.
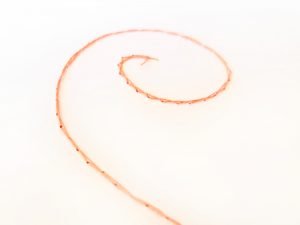
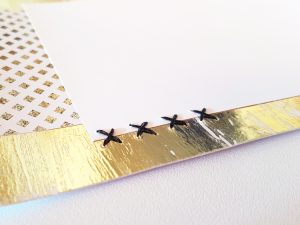
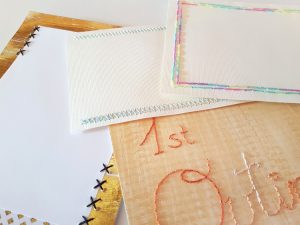
Here you have a couple of examples of what can be done, but in reality you can use your imagination and do whatever idea you come up with. It is a very versatile technique. And a very useful trick if you only have fine thread and want to do something more striking: you can fold a thin thread several times to make it thicker. You can see how this would look in the image of the black crosses, it is made with thin black thread folded 4 or 5 times.

Why don´t you show me your embroidery on social networks? Don´t forget to tag me with @myberryown so that I can see the pictures!