DIY: How to Make Decorative Pumpkins
Halloween is coming! I love it, it’s such a fun celebration and the children have a wonderful time. Halloween is one of those parties where you can go nuts in terms of decoration. Cobwebs, insects, skulls, tombstones, zombies, ghosts … and the versatile pumpkins! In this post I will show you how to make decorative pumpkins for Autumn decorating or Halloween. With them we can make a fall decoration, a centerpiece, decorate the entrance of our house, we can even make an elegant decoration depending on the colors and accessories we choose.
Ok, I have to admit that this DIY is not the fastest to make. It takes several days and also the process is a bit messy. But I assure you that the result is totally worth it! It’s also a fun activity that you can do with children (they will love getting their hands dirty with you). And once they are done, these pumpkins will last a lifetime.
To make these decorative pumpkins we will use paper mache, which is nothing more than pieces of newspaper dipped in a flour and water paste that acts as glue. And at such a low cost!
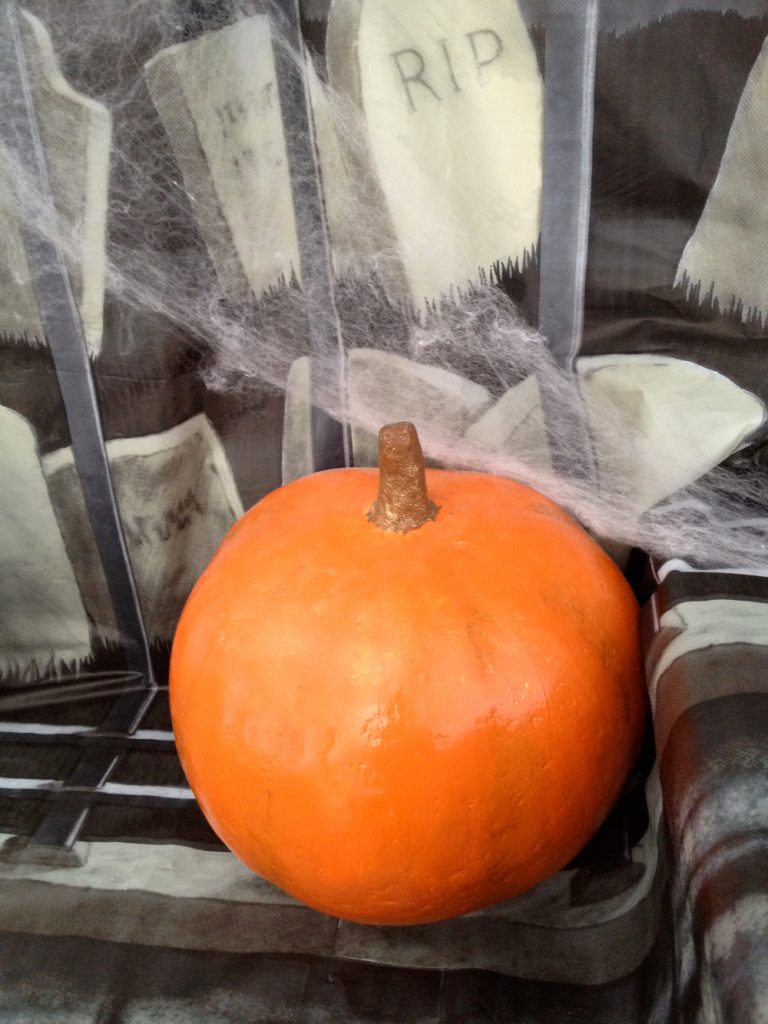
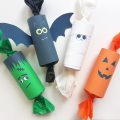
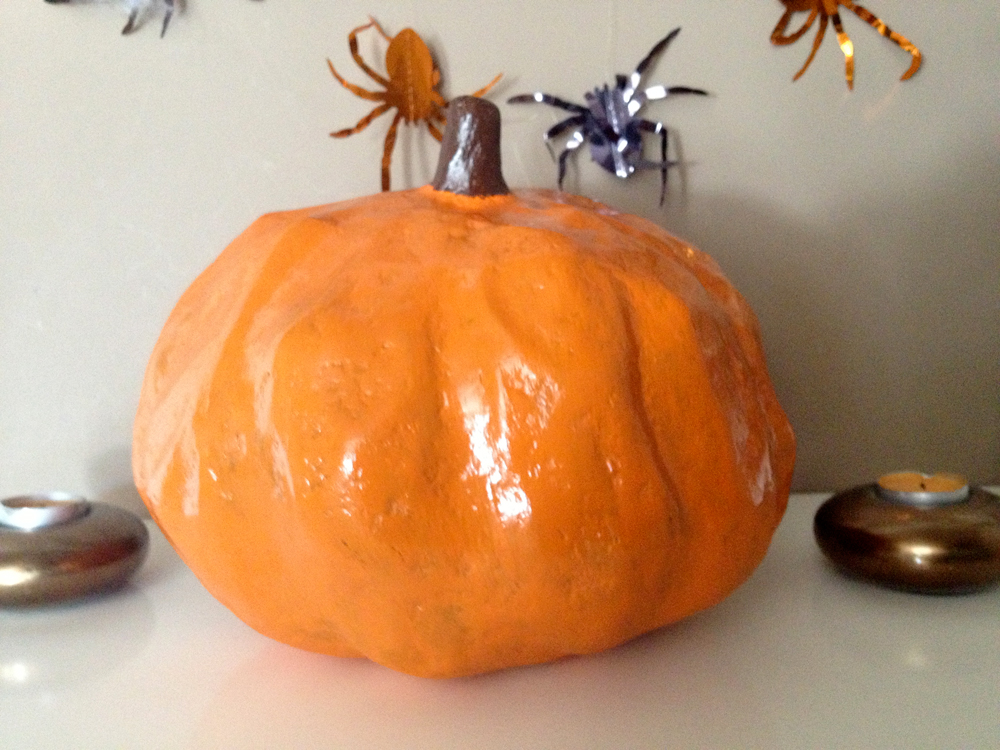
Well, I’ll start by telling you that there are two different ways of doing them. As you can see in the images, they can be made into a very round shape or they can be flatter and uneven. Depending on the shape you want, the process is a little bit different. I didn’t want all of them to be exactly the same, as I wanted them to seem more realistic. Therefore, I will show you both ways, so you can decide the one you like best.
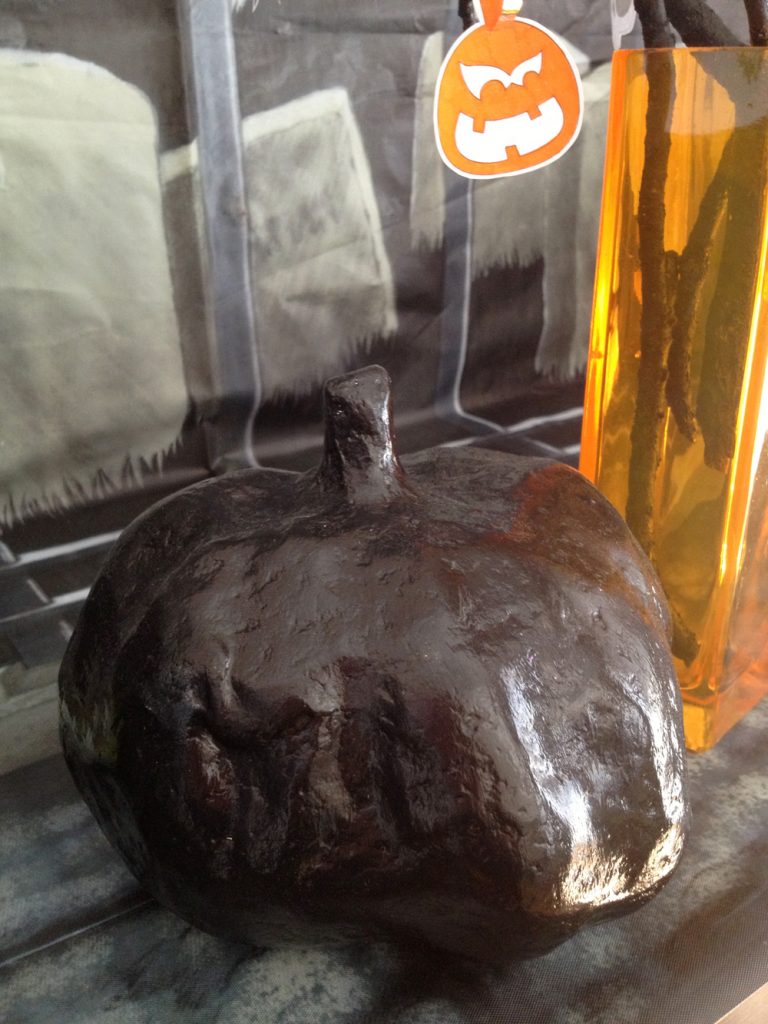
As I was making them, I perfected the technique and I got better after every pumpkin I finished. In fact, if you look at the black pumpkin, which was one of the first I made, it didn’t turn out that well … But that’s like everything! The more we practice, the better we will get at it. I’m also going to give you some tips and tricks so that you don’t make the same mistakes I made. 🙂
What you need:
- Newspaper and / or magazine paper (not glossy)
- Latex balloons
- Thin ribbon or string
- Plastic or garbage bag
- Masking tape
- Flour
- Water
- A large bowl
- A whisk or a mixer
- Paint of the color you choose
- Varnish (optional)
- Glitter (optional)
Process:
To do them in one shape or another, the only thing that changes during the process is the beginning. Then the rest of the steps are all the same for both techniques.
To make round pumpkins:
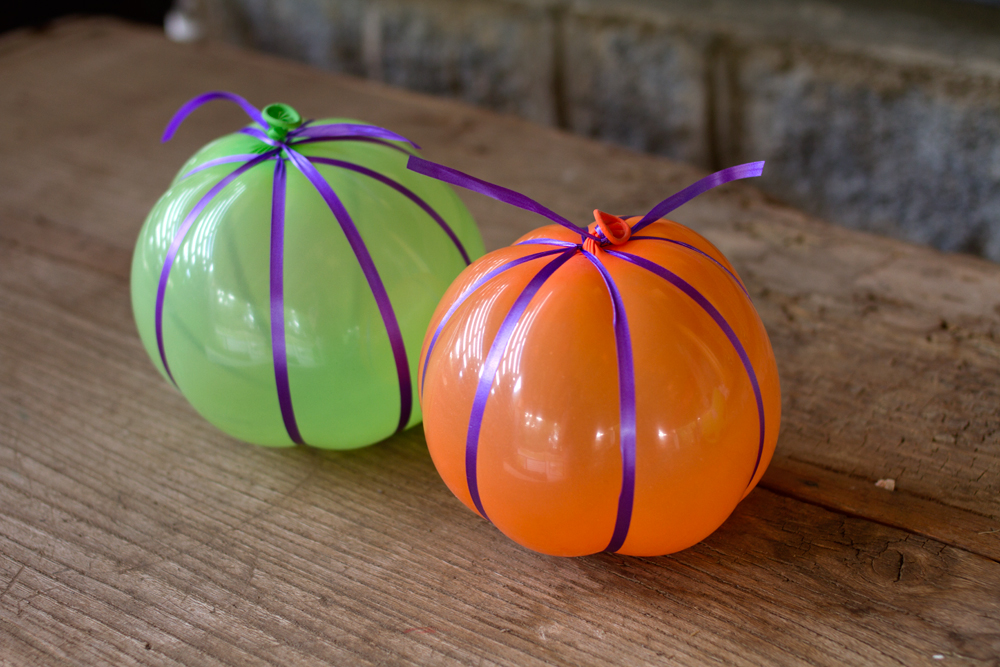
For this technique we will take a balloon and fill it with air. Once it’s tied we will take a string or gift ribbon and wrap it around the balloon to give it a pumpkin shape. We will start with the balloon placed upside down, with the closing at the top, and there we place the beginning of the string to start wrapping it. It is a good idea to attach the string to itself every time we go around, making a half knot, so that it doesn’t move. We finish in the same place we started, and tie the string so that it’s tight. Then we can take advantage of the balloon closing and the string to make the stem of the pumpkin.
To make more realistic pumpkins:
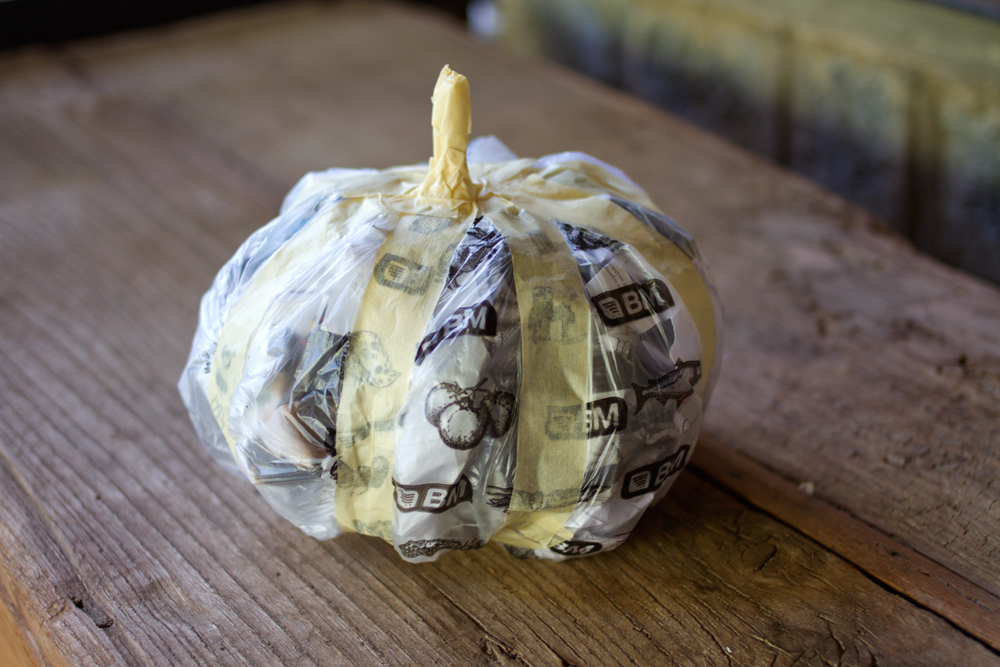
To make these pumpkins instead of the balloon we will use a plastic or garbage bag. We take whole sheets of a magazine and make paper balls with them. We don’t want to crush them too tight, they should be a little loose. With these paper balls we will fill the plastic bag until it reaches the size we want for our pumpkin. We close the bag at the top, trying to give the bag the closest shape possible to what we want it to look like
Now we take the masking tape and stick it onto the plastic bag, circling around it, to make it similar to a pumpkin shape. Do it the same way as you would do the balloon and the string. We start and finish at the top, where we knotted the bag. We will also use this knot to make the pumpkin stem, bending it if necessary, and going around it with the masking tape.

USEFUL TIP:
The better you get the shape of the pumpkin in this step, the better the final result will be. For this reason we want the magazine paper balls to be loose, but use enough paper to fill the bag. That way we can easily shape it, but keep it firm. This was my mistake with the black pumpkin, some of the paper balls were too hard and that’s why it ended up looking the way it did. 😉
To make the paper mache glue:
Once we have the base shape for our pumpkins, we will begin the paper mache process. For this we will need 1 part of flour and 1.5 parts of water. You can make the amount you need based on the number of pumpkins you are going to make. If you see that it’s not enough, don’t worry, it’s very quick to prepare. We will mix it as follows:
- Place the flour and water in a large bowl and stir it well until there are very few lumps left.
- Use a whisk or mixer to finish removing the existing lumps.
- Add the necessary flour or water so that it has a loose consistency, similar to glue. We don’t want it to be excessively dense, like a paste.
- This adhesive can be kept covered in the refrigerator for several days, if necessary.
PAPER MACHE TIPS & TRICKS:
- If you don’t like the smell of the glue, you can add a pinch of cinnamon to give it a nicer smell.
- If you or your children have sensitive skin, it’s convenient to use latex gloves to handle the adhesive.
- The process is quite messy, so be sure to cover and any surfaces where you will be working with it, as well as protect your clothes with an apron, a robe or something similar.
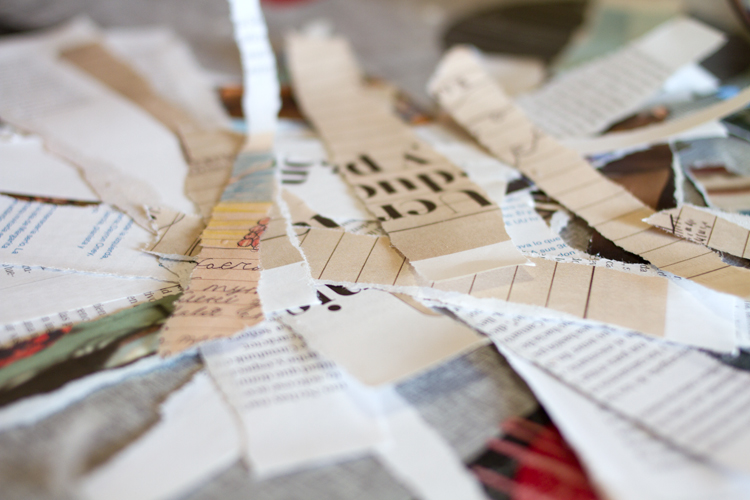
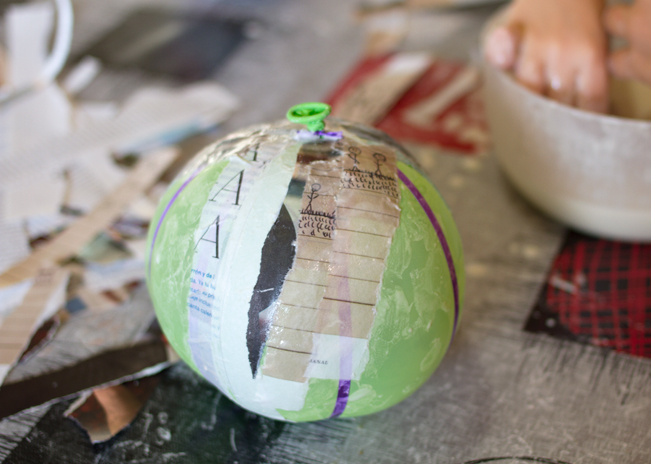
Once we have our adhesive ready, the next step is to take our newspaper or magazine paper, which we will have previously torn into strips. It is preferable to tear the paper, rather than cut it, as this will allow it to stick to the pumpkin better. This will result in a much smoother surface. Don’t make them too large because they will be harder to handle. Use whatever size is easy for you to work with.
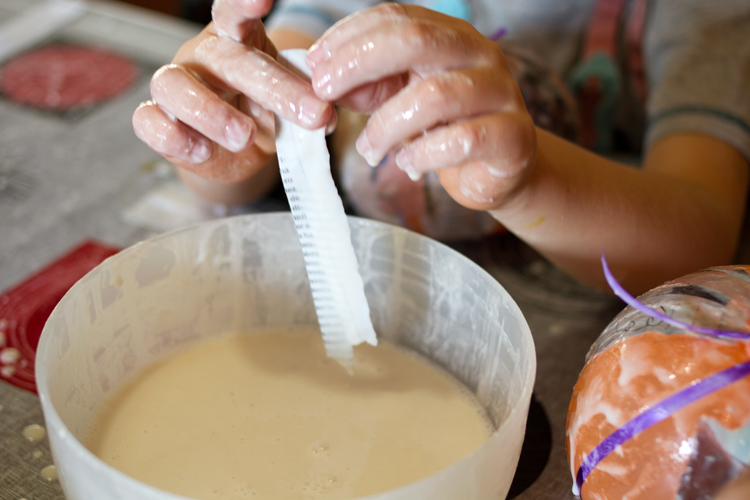
The process is simply to dip the newspaper in the adhesive, drain the excess and then stick it onto your pumpkin. We have to place the pieces of paper next to each other, from top to bottom, without leaving gaps, all over the surface until it is completely covered. Try to follow the lines marked by the tape or string, whenever possible, to make it look better.
Once this is done, we will let it dry completely. We will repeat the process at least 2 or 3 times. The more layers we put on, the stronger it will be. But depending on its size, we will need more or less layers.
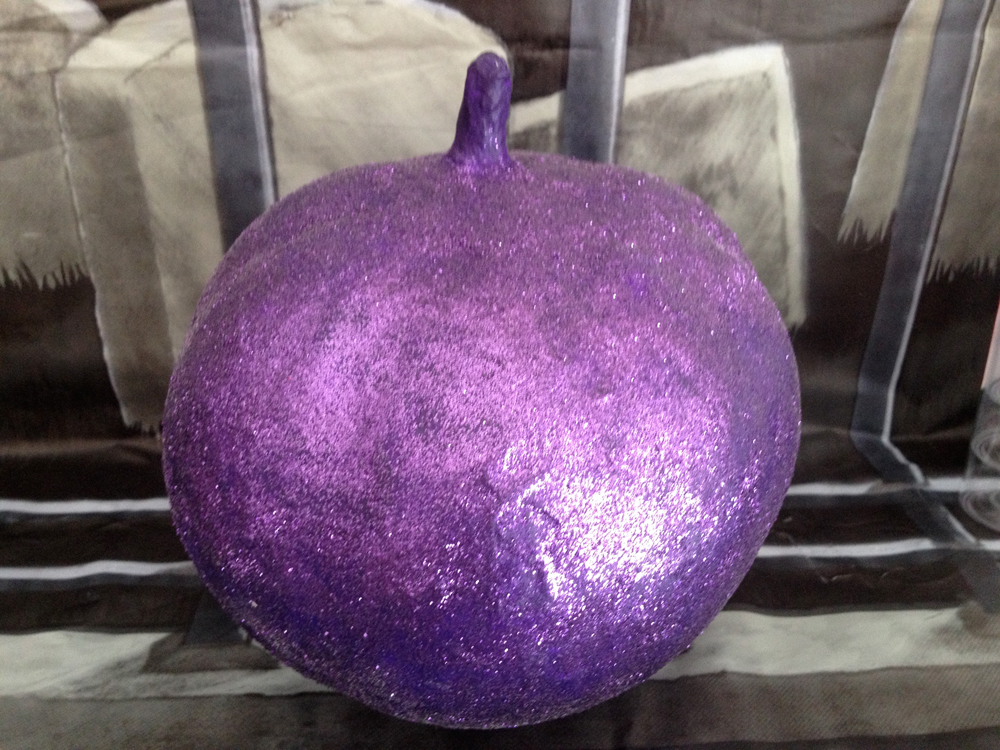
When our pumpkin is dry, we will verify that it is hard by knocking on it with our knuckles, as if we were knocking on the door. If you think it’s ready, the next step is to paint it however you like. If you want to use it for an elegant event, you can paint it in white or black, for example. You can paint it in pastel colors to make a children’s decoration. It can be covered in glitter. Use your imagination, there really are a lot of possibilities.
As a final step you can varnish them (if they do not have glitter), so that they are glossy and more resistant.
Show me yours!
You can use these pumpkins for an infinite number of things. I recommend you make several in different sizes, so you can put them in different places and for various uses. What do you think? How did yours turn out? Please leave a comment and tell me about it. You can also upload your photos to social media and tag me @myberryown. I would love to see your creations! 😉