Halloween Idea: Wild Thing Costume based on the book
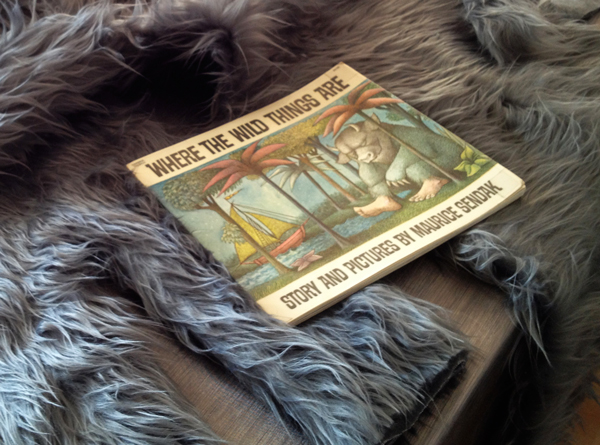
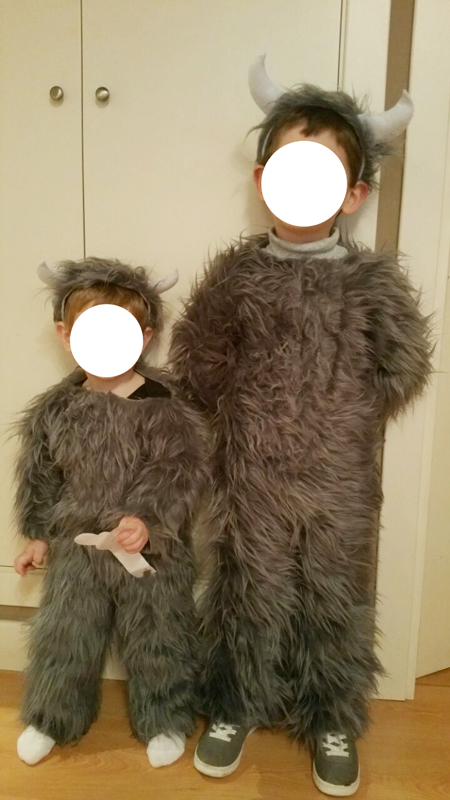
My oldest son is a huge reading fan, and one of his favorite books is “Where the Wild Things Are”. This very popular book, also became a film a few years ago . So last year he asked me for a costume of one of the main characters in this book, for halloween. He wants to be one of the Wild Things, no less. And when my youngest son heard about it, he decided he wanted one, too!
Searching the internet I could not find what I needed, so I decided to make it myself. I did not want to make it complicated, as I did not have much time. Besides, now I had to make two different costumes, and in two different sizes.
Here I describe the process, which was actually quite simple. Although I am not going to lie, it took quite some time.
Materials
- Hairy fabric (I chose gray for the character in the book, but it can be done in any color)
- Scissors
- Pencil or marker
- Sewing machine
- Needle and thread
- Headband
- white felt
- Cotton
- black Velcro
Instructions
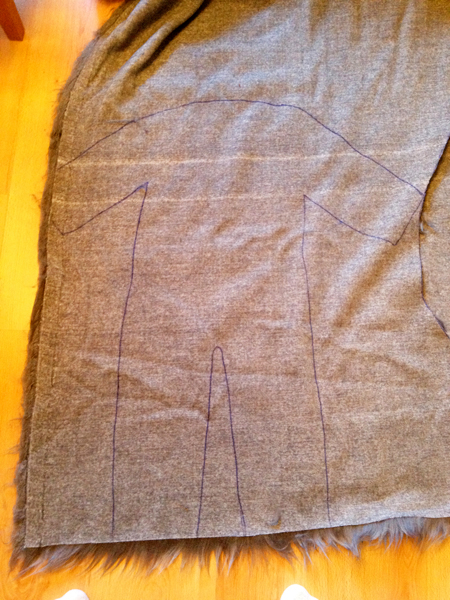
1) Using a pair of pajamas as a template, draw the outline on the back of the fabric and then cut. Repeat for two identical silhouettes (front and rear). I left the neckline very high to adjust the desired size afterwards, depending on the child´s size. It´s best to try it the child before cutting.
2) Join the two silhouettes on the hairy side, and sew all edges except the openings for the hands, feet and neck.
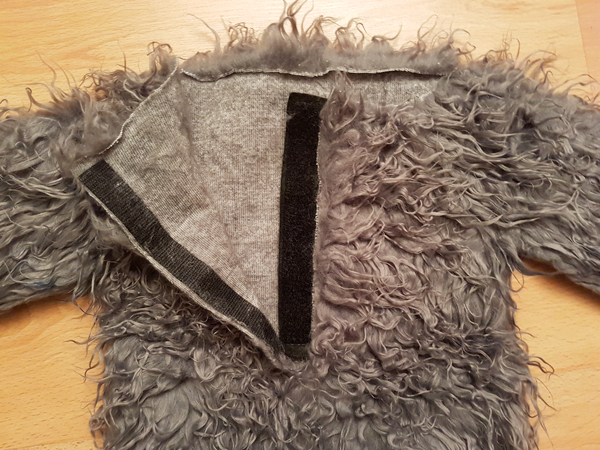
3) Make a vertical cut in the center of the rear silhouette, approximately to the waist. Place de velcro on the length of the entire opening, on both sides and sew to the fabric.
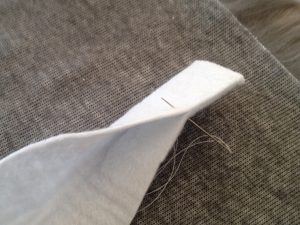
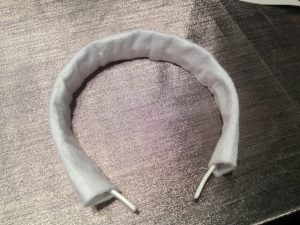
4) To make the headband, we must first make a felt case to cover it. This requires cutting a rectangle as long as the headband, and a little more than twice as wide (to put the headband inside), and sew the longest side. Cover the headband with this rectangle. Also cut a rectangle of fabric hair with the same length and width as the headband (this time not twice).
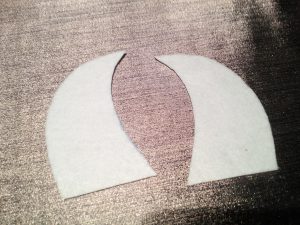
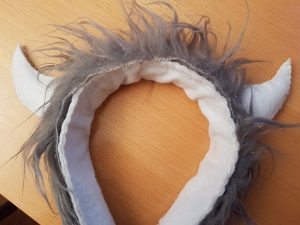
5) For the horns, we make a pattern on paper or cardboard with the shape and size we want. We put it over the white felt and cut 4 pieces. We then sew two of them together, and then the other two, leaving the bottom open. We turn it inside out, and fill it with cotton. We sew the bottom closed and hand sew them to the previously cut rectangle of hairy fabric. Finally we glue the rectangle of hair fabric to the felt placed on the headband.
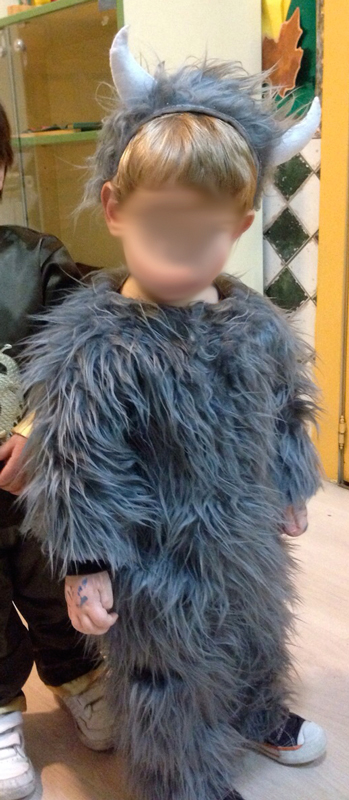
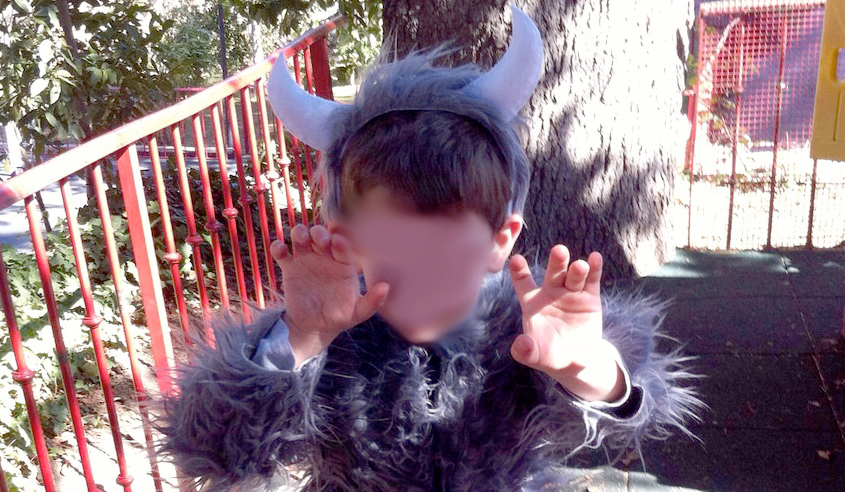
And here’s the result! The children were delighted with their original costume, and they had a blast! I apologize for the photos, the kids wouldn´t stop moving around!
